Android devices tend to use different user interfaces and so the steps to add new email accounts can vary based on the Android version and also if it is using a skinned theme from a manufacturer other than Google themselves (Pixel Devices).
However, typically you will find the account settings in the main settings menu under..
Settings > Passwords and Accounts > Add account
If you have installed the Google Gmail App (which we recommend) this can also be access under..
Gmail > Settings > Add Account
Once you have navigated to the ‘New Account Screen’ you can select to add a new ‘Exchange’ email account (Note: Android refers to ActiveSync accounts as ‘Exchange’):
You are now prompted to enter your email address:
(This example is using a Pixel device running Android 13)
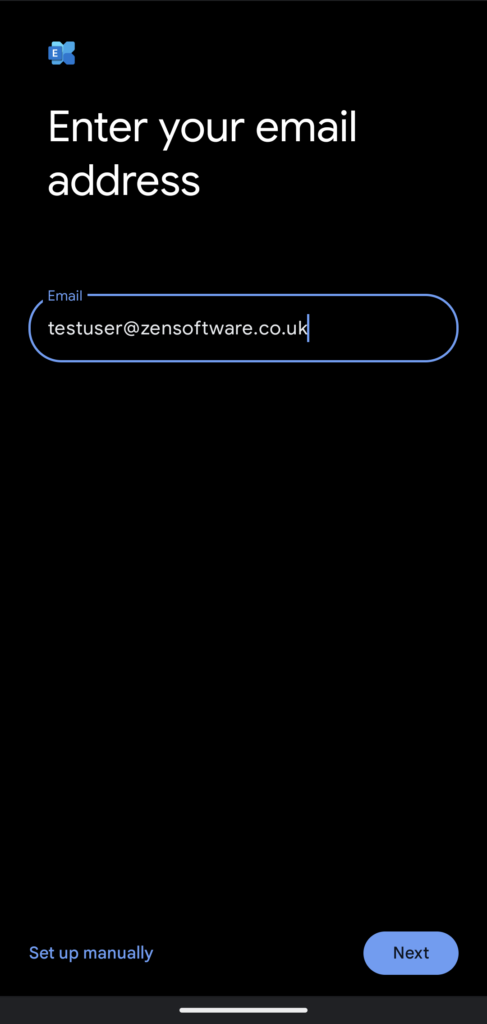
If you have Auto Discovery records setup in your domains DNS, you can simply select ‘Next’ and the device will discover the server details to connect to. In the example below, the device has searched for the server that manages the email domain you have entered and if successful will prompt for the password:
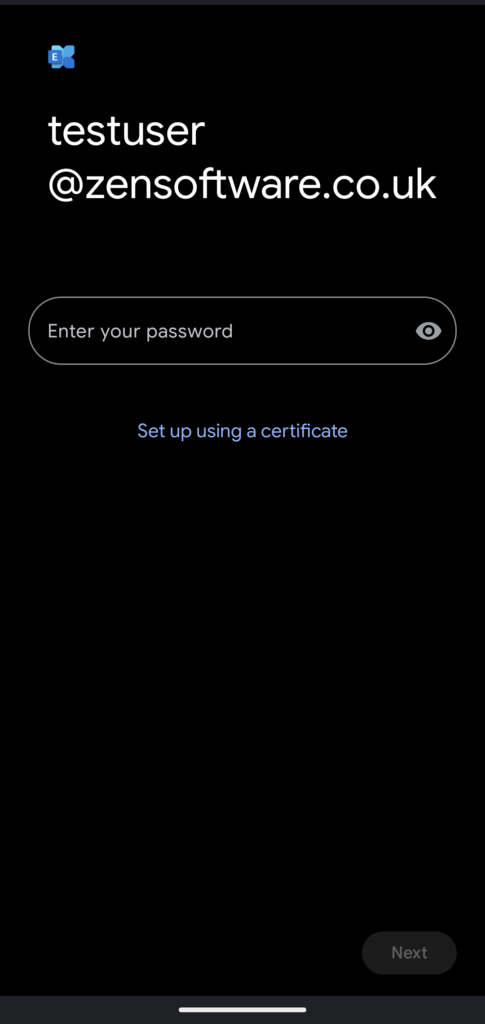
If Auto Discovery is not configured and you want to enter the server address manually you can do using the ‘Set up manually’ option:
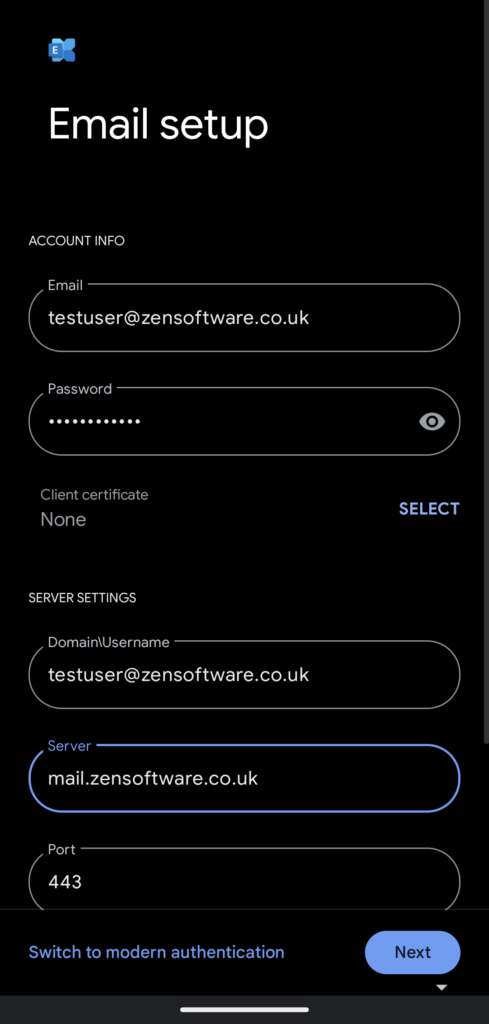
Once the device has found the server it will show ‘Getting account info’:

Once the details are verified then account should be confirmed:
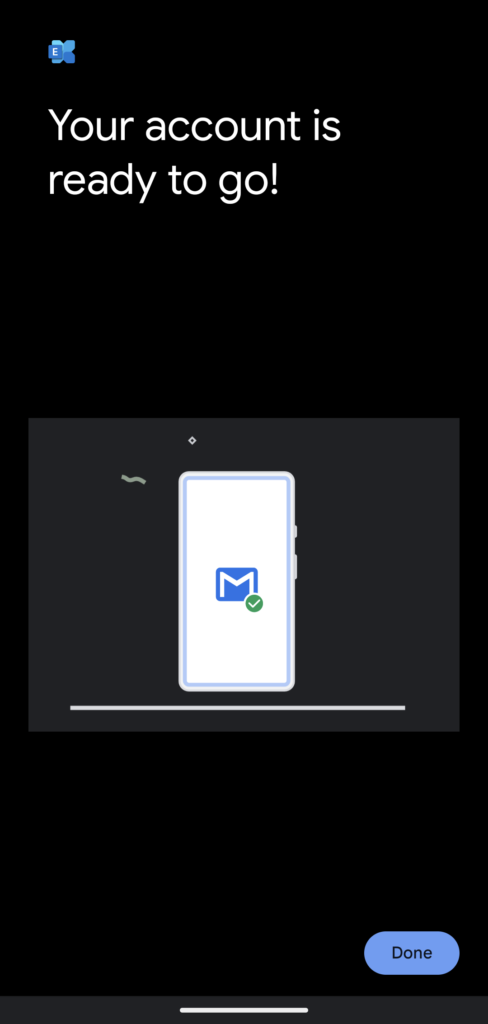
You should now be able to select that account within the GMail App to view its contents and send email.
The addition of this ActiveSync account on the device will also add the Calendar to the Google calendar APP and the Contacts will also be synchronised to the device.


