Verify the CalDAV services are enabled in MDaemon:
- Select Setup
- Select Web & IM Services
- Select CalDAV
- Verify Enable CalDAV server is checked
On the Mac computer:
- Open the OS X Calendar application
- Select Calendar
- Select Accounts…
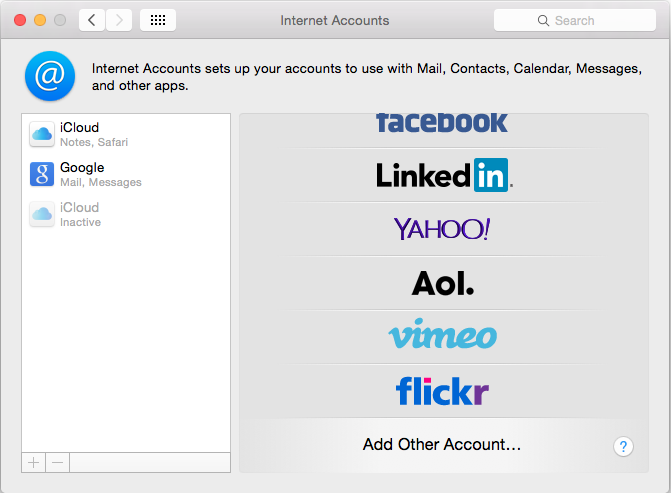
- Select Add Other Account…
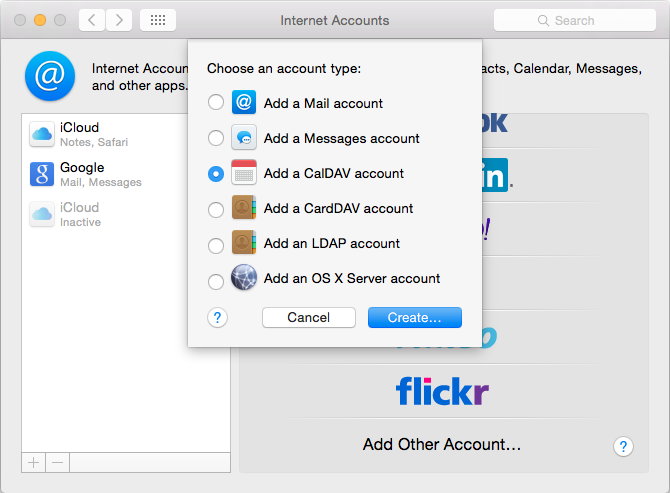
- Select Add a CalDAV account
- Select Create
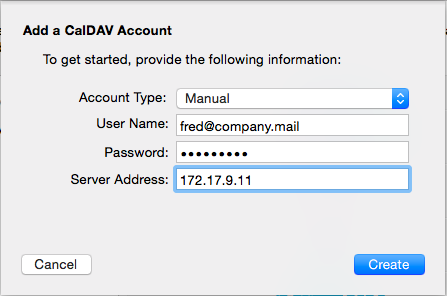
Connecting via SSL (HTTPS) on the standard port (TCP port 443):
- Change the Account Type to Manual
- In User Name enter the MDaemon account address
- In Password enter the MDaemon account password
- Enter the Server Address (host name or IP address)
- Select Create
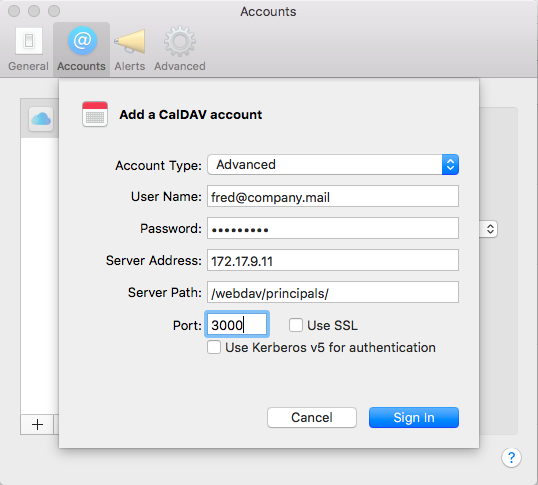
Connecting without SSL (HTTPS) on a non-standard port:
- Change the Account Type to Advanced
- In User Name enter the MDaemon account address
- In Password enter the MDaemon account password
- Enter the Server Address (host name or IP address)
- In Server Path enter /webdav/principals/
- In Port enter the TCP port WorldClient / CalDAV runs on
- Select Create
Note: The Calendar APP on the MAC will automatically display any calendars you have permissions to see. If in MDaemon you are given permissions to see a new calendar, to get the MAC to refresh it’s calendar folder listings to display it choose the CMD + R shortcut.


